How to Use the Laser
- Have a file prepared that you created in Adobe Illustrator so your object can get cut out.
- Copy the file onto a flash drive that you can take to the laser.
- Open the file in Illustrator and adjust what material your using and the thickness of it.
- Then print it to the laser, this will send it to the laser.
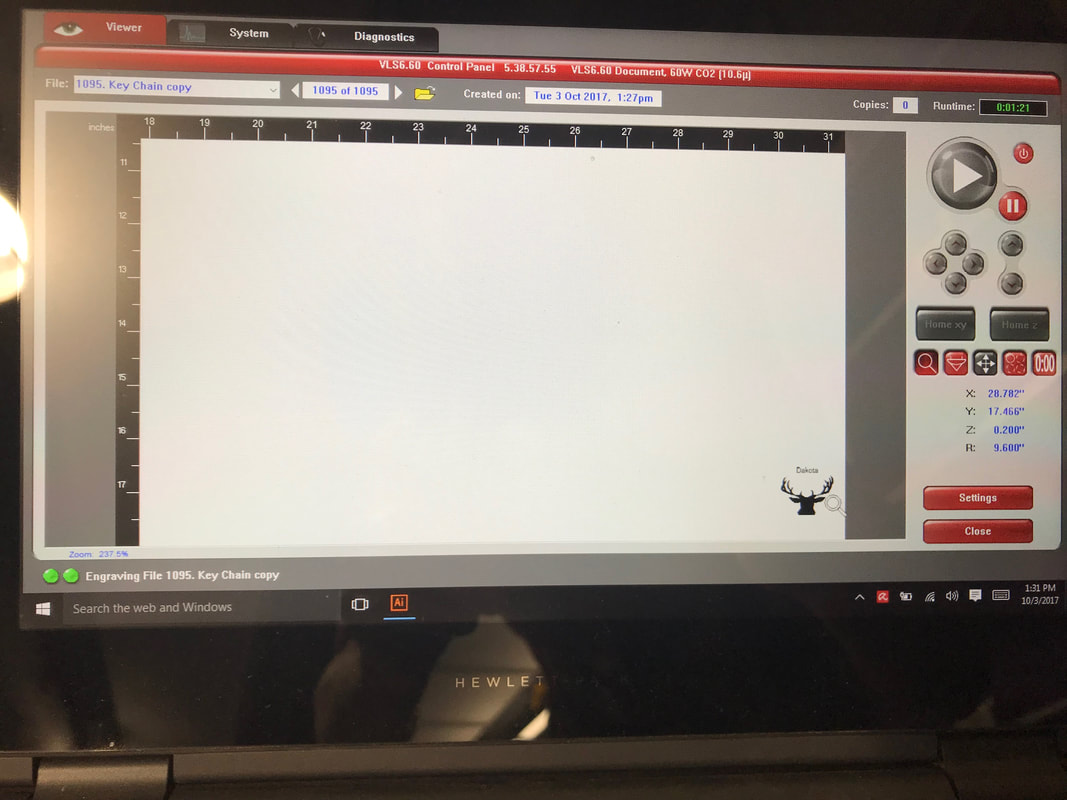
- Once you have it opened in the laser use the program to move the laser to where you want to start cutting.
- Have your material and the laser in place and shut the lid to the laser and turn the exhaust system on.
- Click print and wait for it to finish.
- Open the laser when complete and then bam! You done.
Step #5
Step #6
Step #8 Finished Product
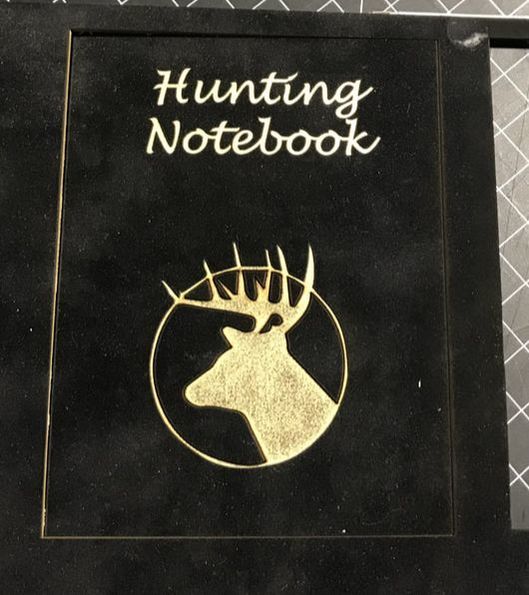
Notebook Project
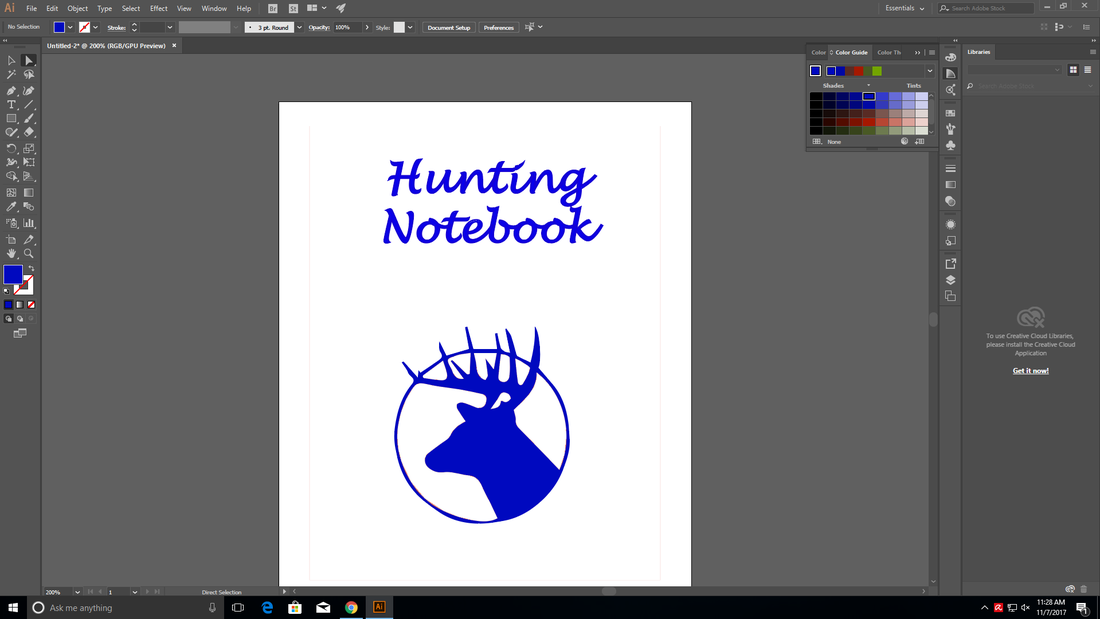
This is a picture of the design of my notebook in Illustrator. There's a picture of the front(Back in just a cutout).
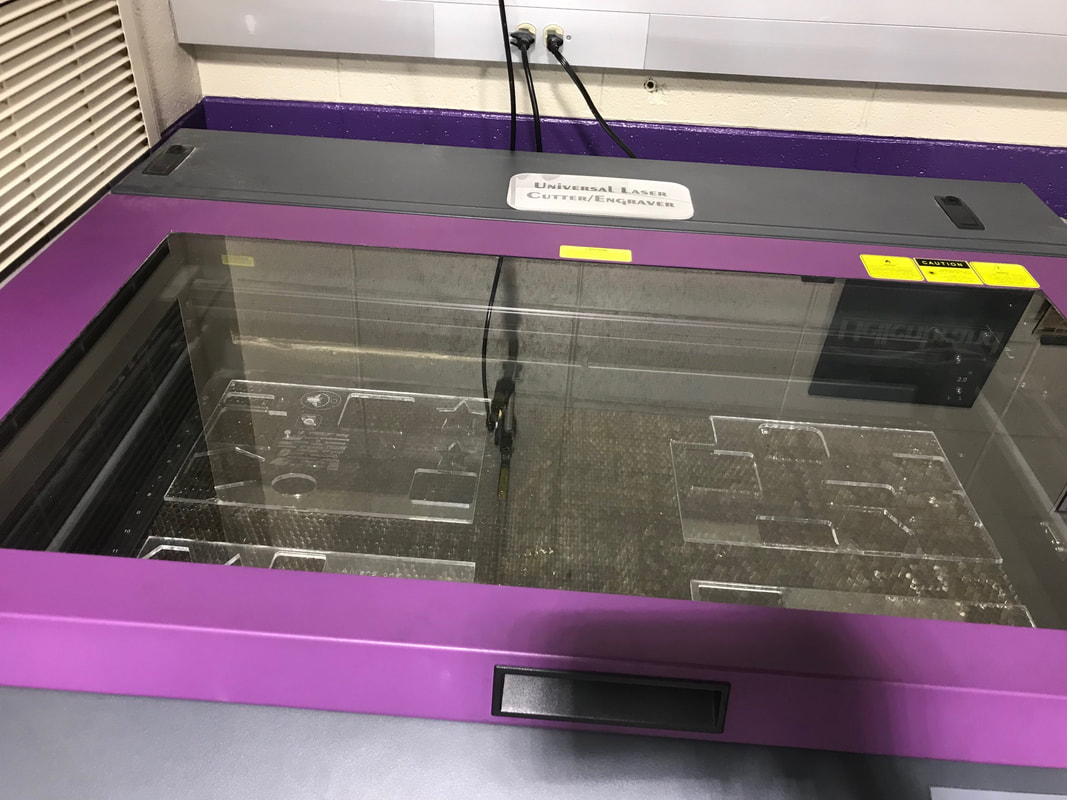
These two are both pictures of the note book cover in the UCP while it is getting cut out.
Two more pictures of it while the Laser is engraving the front cover and then cutting out the section around the deer.
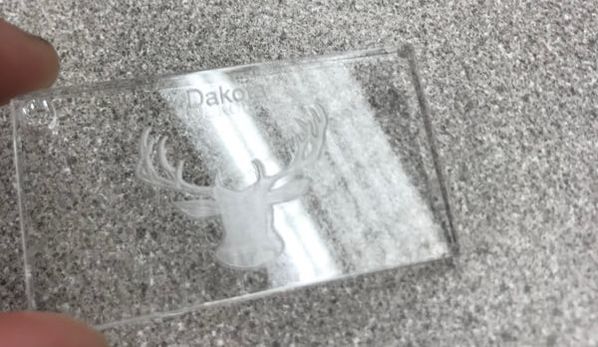
This is the front cover after it went through the laser. Laser had a little bit of a problem cutting through this matboard so had to play with the settings some. After this picture was taken I popped out the inside sections of the circle that surround the deer.
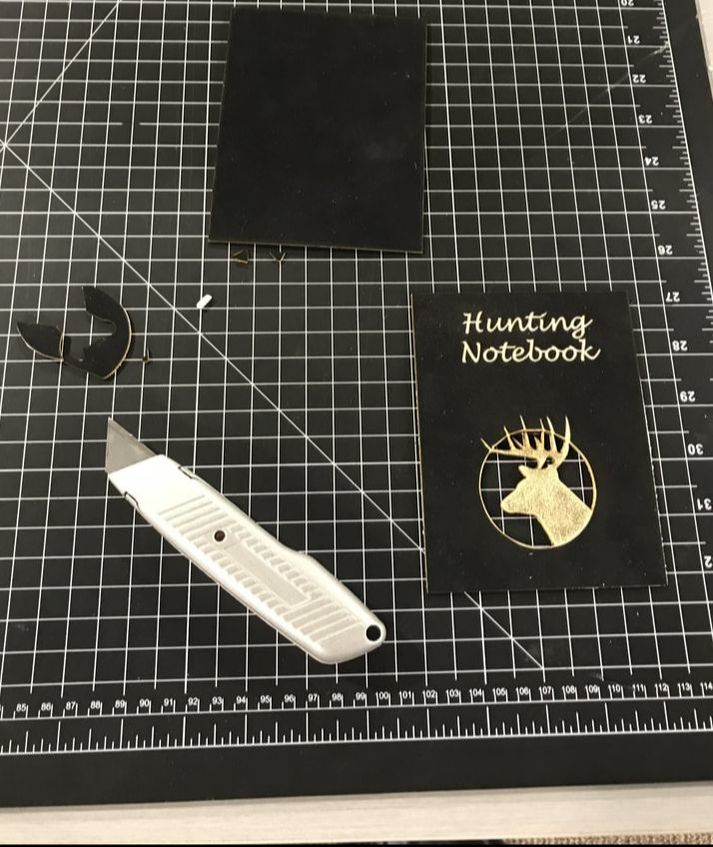
Both the front and back cover of the note book are in this picture and the cover had the remaining cutouts punched out of it.
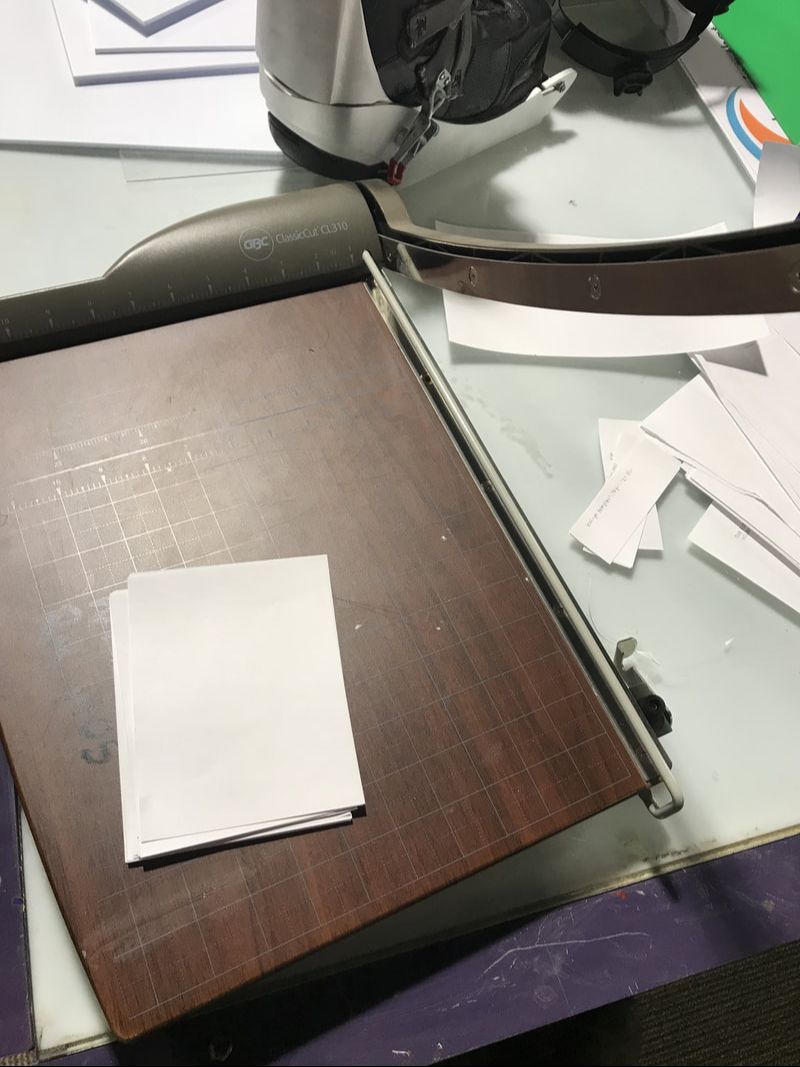
Had to then cut out paper for the inside of the notebook and punch out holes for the coil that holds the book together.
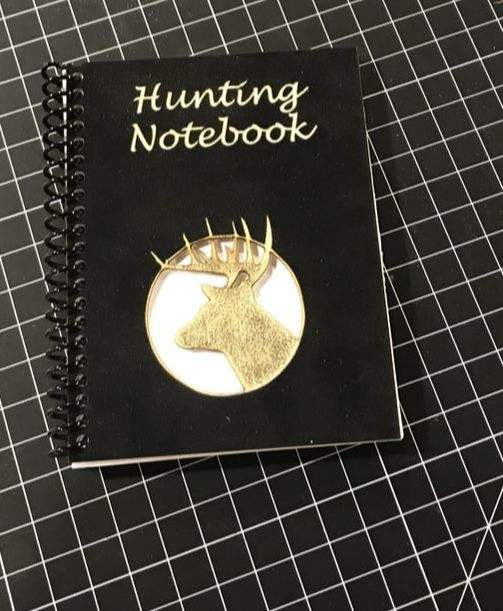
After putting the pages in it and the coil on this is the finished product. Not trying to be bias here but I think it look pretty good.
3D Cutout
For the 3D cutout we had to go onto thingverse.com and find something that was made for the laser. Then we'd download the file after checking with Willauer that it would be okay to use. Once you did that you yould open it up in illustrator and get it ready for how you want it to be and then get it set up to run through the laser. Most people used cardboard to create their 3D thing because it was the easier thing to use.
This is a few screenshots of me getting the file ready for the laser.
The first two pictures are the files being set up in the UCP, the rest are the laser cutting and after the laser is done.
All parts cut out and then final pictures of it all together.
Water Bottle
The water bottle was a simple concept, engrave a water bottle given to you by the instructor. Must include both a picture and text.
So this is the FFA T-Shirt that I wanted my water bottle to look like, I knew going into this that it would take more than a couple of seconds to design this in illustrator with my skills with it.
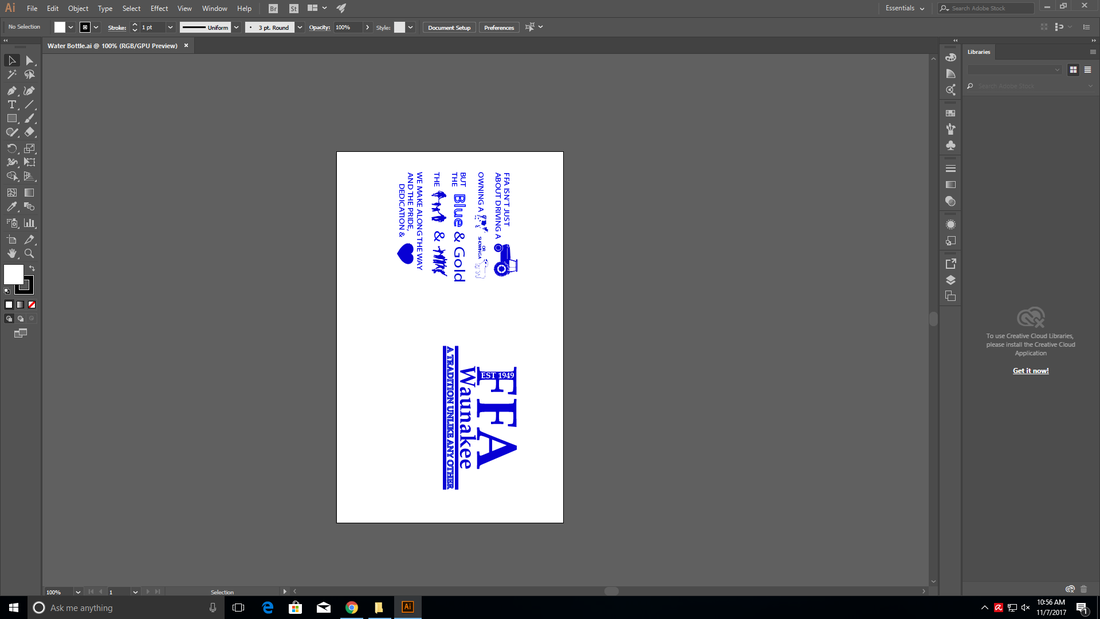
Final design in illustrator before I took it to the laser to engrave.
Finished water bottle.
Summary Paragraph
What I learned from this rotation was that after you use the lasers a few times it's not very hard to use them. Something else too that I learned is how adjustable they are in terms of there settings, I think that they are very cool and have a lot of potential in this schools future. Out of these three projects I think that the cut out one was the hardest mostly because I accidentally set it on fire.
